RED
RED
132
RED
AVISO LEGAL
1
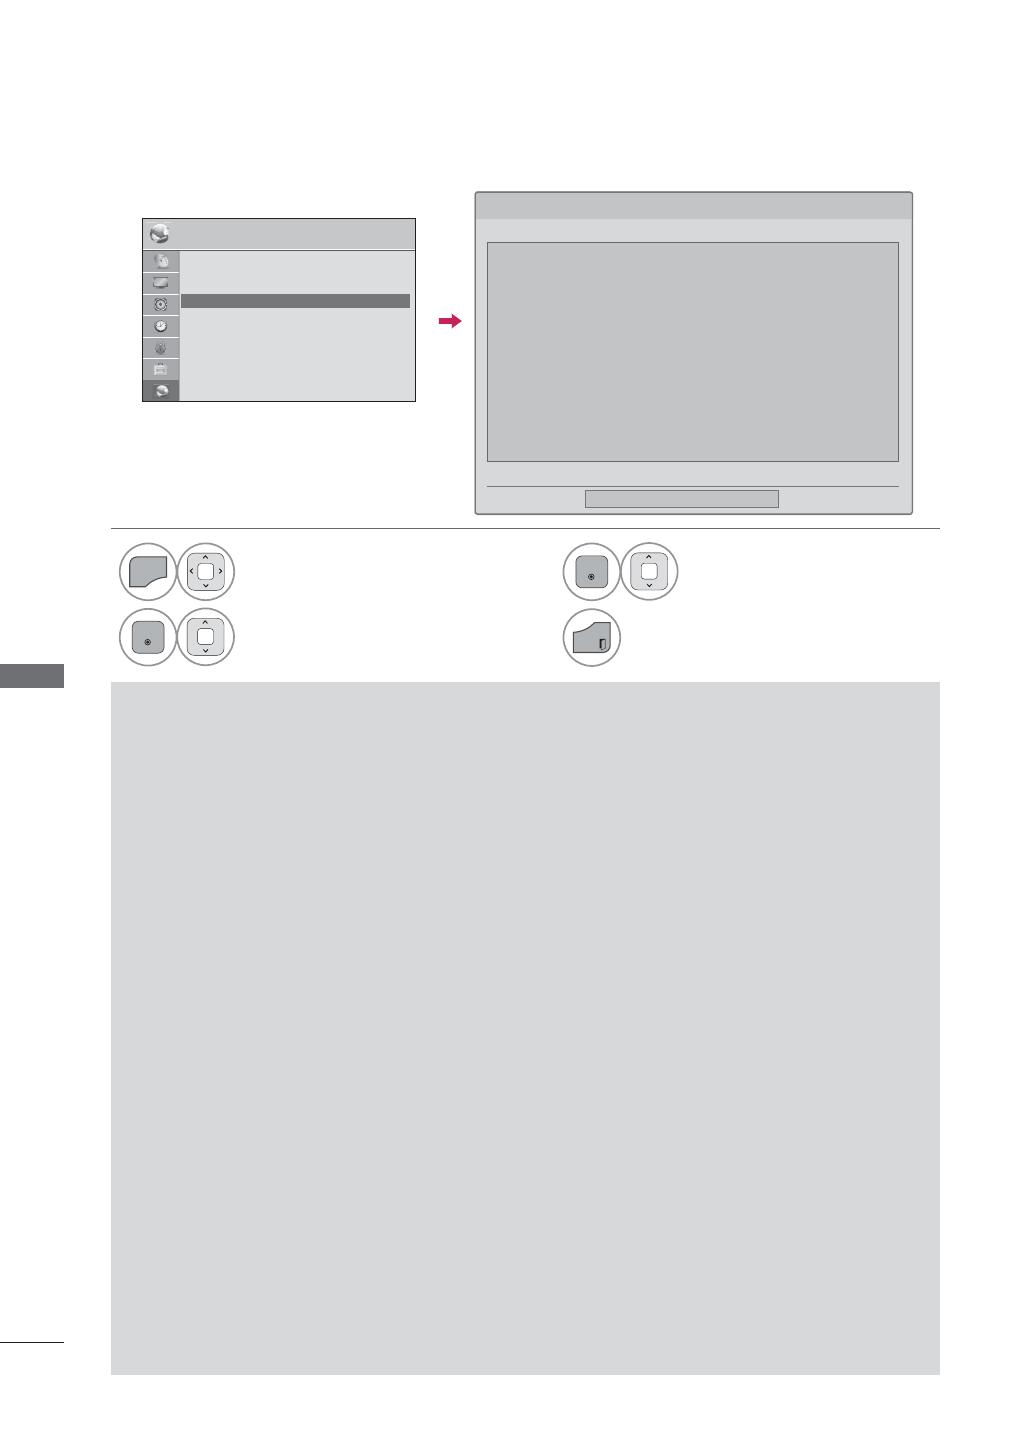
Seleccione RED.
2
Seleccione Aviso legal.
3
Compruebe los avisos legales.
4
Regresar a la pantalla del televisor.
5HG
ᯒ
0RYHUᯙ,QJUHVDU
ؒ
&RQILJXUDFL·QGH5HG
$O¥PEULFD
ؒ (VWDGRGHUHG
,QWHUQHWHVW¥FRQHFWDGR
ؒ $YLVROHJDO
$YLVROHJDO
ᯝ
&HUUDU
$9,62,03257$17(5(/$&,21$'2&21/266(59,&,26'(5('7RGRVORVFRQWHQLGRV\
VHUYLFLRVDFFHVLEOHVPHGLDQWHVWHGLVSRVLWLYRSHUWHQHFHQDWHUFHURV\HVW¥QSURWHJLGRVSRU
OH\HVGHFRS\ULJKWSDWHQWHVPDUFDVFRPHUFLDOHVXRWUDVOH\HVGHSURSLHGDGLQWHOHFWXDO
'LFKRVFRQWHQLGRV\VHUYLFLRVVHRIUHFHQH[FOXVLYDPHQWHSDUDXVRSHUVRQDOQRFRPHUFLDO(O
XVXDULRQRSRGU¥XWLOL]DUORVFRQWHQLGRVQLORVVHUYLFLRVGHQLQJXQDIRUPDTXHQRHVWDXWRU
L]DGDSRUHOSURSLHWDULRGHORVFRQWHQLGRVRHOSURYHHGRUGHVHUYLFLRV6LQSHUMXLFLRGHOR
DQWHULRU\VDOYRTXHFXHQWHFRQDXWRUL]DFL·QH[SUHVDGHOSURSLHWDULRGHORVFRQWHQLGRVRGHO
SURYHHGRUGHVHUYLFLRVHOXVXDULRQRSRGU¥FRSLDUFDUJDUSXEOLFDUWUDQVPLWLUWUDGXFLU
YHQGHUPRGLILFDUFUHDUWUDEDMRVGHULYDGRVRGLVWULEXLUGHIRUPDRHQPHGLRDOJXQRQLQJXQR
GHORVFRQWHQLGRVRVHUYLFLRVGLVSRQLEOHVDWUDYVGHHVWHGLVSRVLWLYR(/868$5,2$'0,7(<
$&(37$(;3/&,7$0(17(48((/',6326,7,92<72'26/26&217(1,'26<6(59,&,26
'(7(5&(5266()$&,/,7$17$/&8$/6,1*$5$17$'(1,1*81$&/$6(<$6($'(
)250$(;35(6$2,03/&,7$/*(/(&7521,&65(181&,$(;3/&,7$0(17($72'$6
/$6*$5$17$6<&21',&,21(6(1/248(&21&,(51($&217(1,'26<6(59,&,26<$
3¥JLQD
ᯜ
ᯙ
AVISO IMPORTANTE RELACIONADO CON LOS SERVICIOS DE RED
Todos los contenidos y servicios accesibles
mediante éste dispositivo pertenecen a terceros
y están protegidos por leyes de copyright, pat-
entes, marcas comerciales u otras leyes de
propiedad intelectual. Dichos contenidos y servi-
cios se ofrecen exclusivamente para uso per-
sonal no comercial. El usuario no podrá utilizar
los contenidos ni los servicios de ninguna forma
que no esté autorizada por el propietario de los
contenidos o el proveedor de servicios. Sin per-
juicio de lo anterior y salvo que cuente con autor-
ización expresa del propietario de los contenidos
o del proveedor de servicios, el usuario no podrá
copiar, cargar, publicar, transmitir, traducir, vend-
er, modificar, crear trabajos derivados o distribuir
de forma o en medio alguno ninguno de los
contenidos o servicios disponibles a través de
este dispositivo.
EL USUARIO ADMITE Y ACEPTA
EXPLÍCITAMENTE QUE EL DISPOSITIVO Y
TODOS LOS CONTENIDOS Y SERVICIOS DE
TERCEROS SE FACILITAN 'TAL CUAL' SIN
GARANTÍA DE NINGUNA CLASE, YA SEA DE
FORMA EXPRESA O IMPLÍCITA. LG
ELECTRONICS RENUNCIA EXPLÍCITAMENTE
A TODAS LAS GARANTÍAS Y CONDICIONES
EN LO QUE CONCIERNE A CONTENIDOS Y
SERVICIOS, YA SEA DE FORMA EXPRESA O
IMPLÍCITA, INCLUIDAS ENTRE OTRAS, LAS
GARANTÍAS DE COMERCIABILIDAD, CALIDAD
SATISFACTORIA, IDONEIDAD PARA UN FIN EN
PARTICULAR Y NO INFRACCIÓN DE LOS
DERECHOS DE TERCEROS. LG NO GARANTIZA
LA EXACTITUD, VALIDEZ, PUNTUALIDAD,
LEGALIDAD O INTEGRIDAD DE LOS
CONTENIDOS O SERVICIOS DISPONIBLES A
TRAVÉS DE ESTE DISPOSITIVO Y NO
GARANTIZA QUE EL DISPOSITIVO NI LOS
SERVICIOS CUMPLAN LOS REQUISITOS DEL
USUARIO, NI QUE EL FUNCIONAMIENTO DEL
DISPOSITIVO O LOS SERVICIOS SE REALICEN
DE FORMA CONTINUADA O QUE NO TENGAN
ERRORES. BAJO NINGUNA CIRCUNSTANCIA,
INCLUIDA LA NEGLIGENCIA, SERÁ LG
RESPONSABLE, YA SEA POR CONTRATO O
RESPONSABILIDAD EXTRACONTRACTUAL,
DE LOS DAÑOS DIRECTOS, INDIRECTOS,
FORTUITOS, ESPECIALES O DERIVADOS, O
CUALQUIER OTRO DAÑO ORIGINADO POR
CUALQUIER INFORMACIÓN CONTENIDA EN
EL DISPOSITIVO O POR CUALQUIER
CONTENIDO O SERVICIO AL QUE ACCEDA EL
USUARIO O UN TERCERO, AUNQUE SE HAYA
ADVERTIDO DE LA POSIBILIDAD DE TALES
DAÑOS.
Los servicios de terceros podrán ser modifica-
dos, suspendidos, eliminados, finalizados o inter-
rumpidos, y se podrá inhabilitar su acceso en
cualquier momento y sin previo aviso. LG no
ofrece ninguna garantía o representación de que
los contenidos o servicios permanezcan dis-
ponibles durante un periodo de tiempo concreto.
Los contenidos y servicios se transmiten a través
de terceros mediante redes o instalaciones de
transmisión sobre las que LG no posee ningún
control. LG puede limitar el uso o acceso a
determinados servicios o contenidos, en cualqui-
er caso y sin previo aviso ni responsabilidad. LG
renuncia explícitamente a cualquier responsabi-
lidad por las modificaciones, interrupciones, des-
activación, eliminación o suspensión de los con-
tenidos o servicios disponibles a través de este
dispositivo.
LG tampoco será responsable de los servicios de
atención al cliente relacionados con los conteni-
dos y servicios. Toda pregunta o solicitud de
servicio relacionada con los contenidos o servi-
cios se deberá realizar directamente a los respec-
tivos proveedores de contenidos y servicios.


