PÁGINA 22 ESPAÑOL Polaris® Bomba reforzadora PB4-60 | Manual de instalación y funcionamiento
Sección 2. Descripción General
2.1 Introducción
Este manual contiene información para la instalación, el
funcionamiento y el mantenimiento adecuados de la bomba
Polaris PB4-60. Los procedimientos indicados en este manual
se deben seguir con exactitud. Para obtener copias adicionales
de este manual, póngase en contacto con Zodiac Pool Systems,
Inc. (“Zodiac”) al 800.822.7933. Para mayor información de
direcciones, consulte la contraportada de este manual.
2.2 Descripción
La bomba reforzadora Polaris, PB4-60, suministra agua a
alta presión al limpiador de piscinas Polaris para optimizar su
eficiencia. La bomba no se ceba automáticamente y sólo debe
utilizarse cuando esté activada la bomba de filtrado de la piscina.
Si la bomba reforzadora no se utiliza con una bomba de
ltrado, la bomba reforzadora resultará dañada. La operación
incorrecta de la bomba reforzadora anulará la garantía.
PRECAUCIÓN
2.3 Preparación
1. Tras la recepción de la bomba, revise si la caja presenta
daños. Abra la caja y revise si la bomba presenta daños
ocultos, tales como grietas, abolladuras o la base doblada.
Si encuentra algún daño, póngase en contacto con el
proveedor de la bomba.
2. Inspeccione el contenido de la caja y verifique que estén
todas las piezas. Consulte la sección 7.1, Lista de piezas de
repuesto.
Sección 3. Instalación
3.1 Instalación eléctrica
3.1.1 Chequeos de voltaje
El voltaje correcto, como se especifica en la placa de la
bomba, es necesario para un rendimiento adecuado y una larga
vida del motor. Un voltaje incorrecto disminuirá el desempeño de
la bomba y podría causar sobrecalentamiento, reduciendo la vida
útil del motor y resultando en cuentas eléctricas más altas.
Es responsabilidad del instalador eléctrico proporcionar el
voltaje de funcionamiento indicado en los datos de la placa la
bomba, garantizando los tamaños adecuados de circuito y de
cable para esta aplicación específica.
El Código Eléctrico Nacional (NEC®, NFPA-70®) de EE.
UU. requiere que todos los circuitos de bomba de la piscina estan
protegidos con un interruptor del circuito de fallos de conexión
a tierra. Por lo tanto, también es responsabilidad del instalador
eléctrico asegurarse de que el circuito de la bomba esté en el
cumplimiento de éste y todos los demás requisitos aplicables del
Código Eléctrico Nacional (NEC) y otros códigos aplicables a la
instalación.
No proporcionar el voltaje indicado en placa (dentro de
un 10%) durante la operación causará que el motor se
sobrecaliente y anulará la garantía.
PRECAUCIÓN
3.1.2 Interconectar cables y conectar
a tierra
1. La carcasa del motor debe estar conectada a tierra
mediante una conexión a tierra fiable con un conductor
de cobre sólido, Nº. 8 AWG (8.4 mm2) o uno más grande.
En Canadá, debe utilizarse Nº 6 AWG (13.3 mm2) o
mayor. Si la bomba está instalada a no más de cinco
(5) pies (1.5 metros) de las paredes interiores de la piscina,
el spa o la tina de hidromasaje, la carcasa del motor debe
estar interconectada con todas las partes metálicas de la
estructura de la piscina, el spa o la tina de hidromasaje y
con todas las tuberías de los equipos eléctricos, conductos
de metal y tubos de metal a no más de cinco (5) pies
(1.5 metros) de las paredes interiores de la piscina, el spa o
la tina de hidromasaje.
2. Unir el motor utilizando el terminal de externo provisto.
La bomba debe estar permanentemente conectada a un
circuito eléctrico dedicado. Ningún otro equipo, luces,
electrodomésticos, o tomas pueden estar conectados al
circuito de la bomba, con la excepción de los productos que
pueden ser necesarios para operar simultáneamente con la
bomba, como un dispositivo de cloración o la calefacción.
PRECAUCIÓN
Con el n de evitar el riesgo de daños a la propiedad,
lesiones personales graves y/o muerte, siempre desconecte
la fuente de alimentación eléctrica antes de trabajar en un
motor o cualquier componente conectado a él.
ADVERTENCIA
Con el n de evitar el riesgo de daños a la propiedad,
lesiones personales graves y/o muerte, asegúrese de que el
interruptor de control o el reloj registrador estén instalados
en un lugar accesible, de modo que en caso de una falla
del equipo o de las tuberías, el equipo pueda ser fácilmente
apagado. Este lugar debe ser un lugar distinto a donde se
encuentra la bomba de la piscina, ltros y otros equipos.
ADVERTENCIA
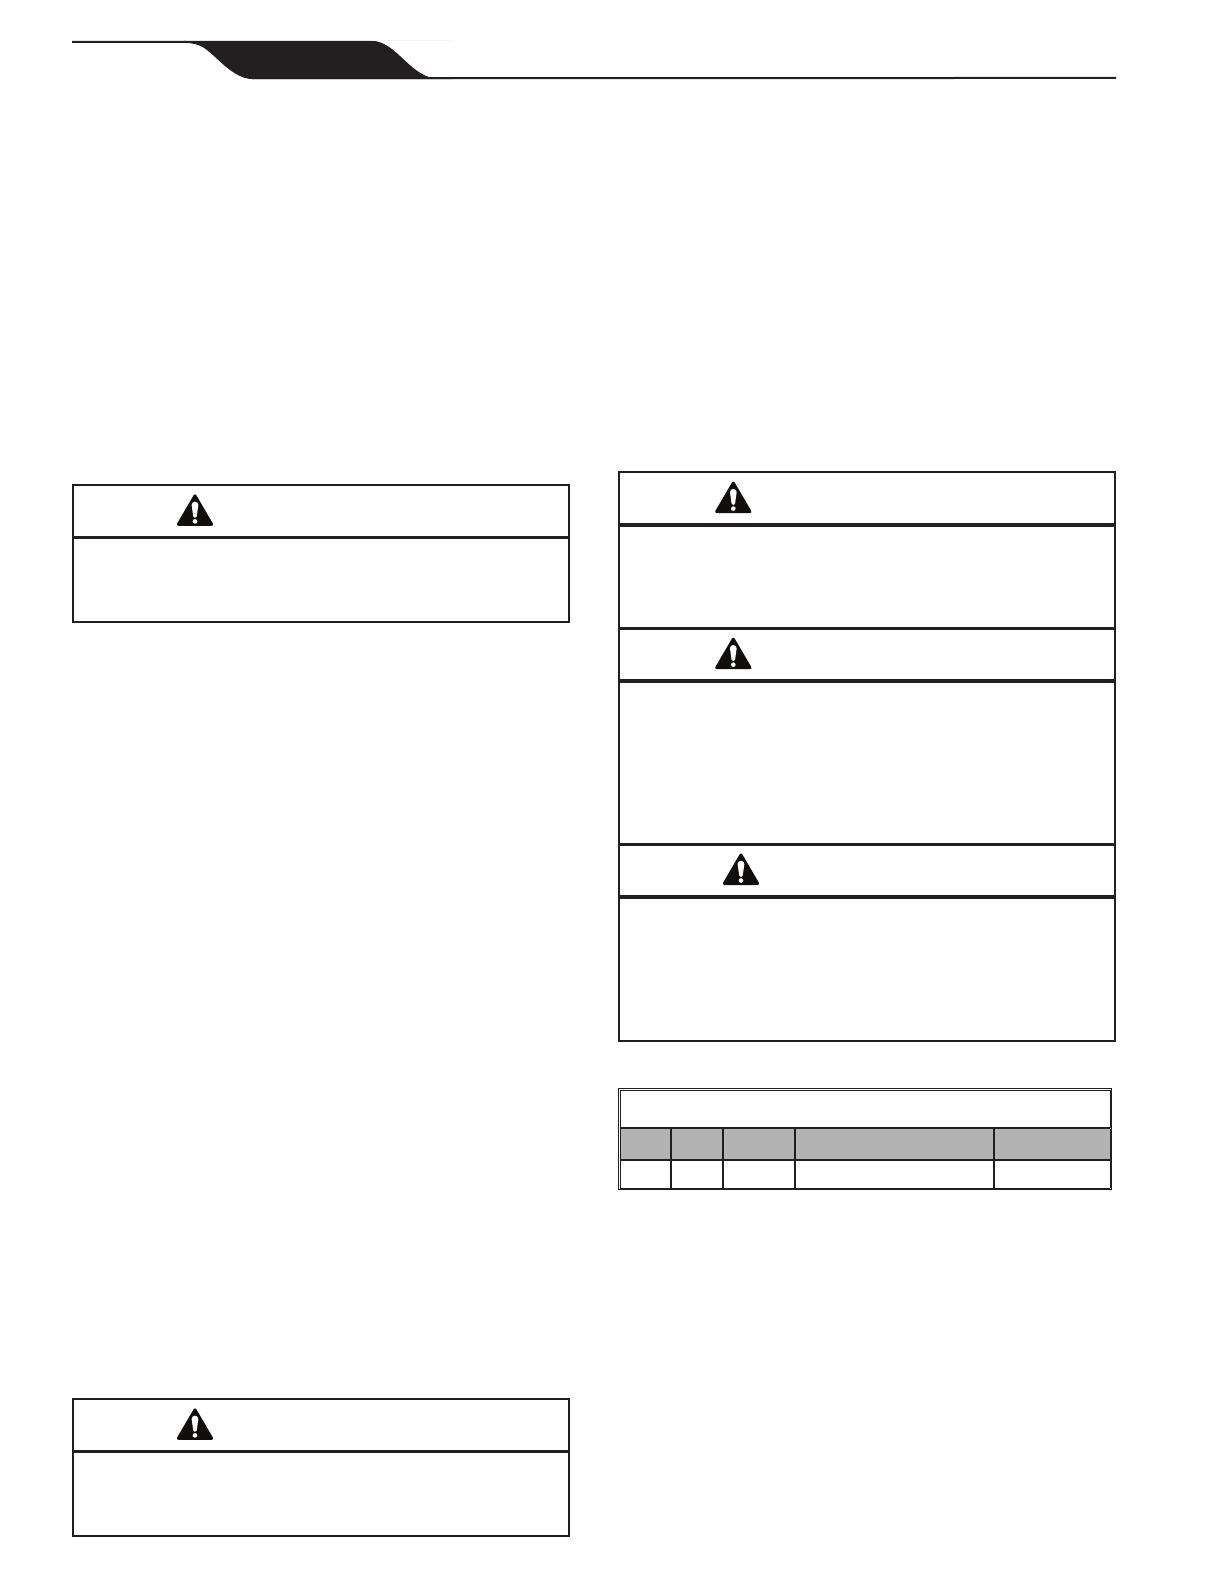
3.2 Eléctrico
Potencia del motor
HP S.F RPM VOLTS S.F. AMPS
3/4 1.5 3450 230/115, 60Hz, 1PH 6.4/12.8
3.2.1 Cableado eléctrico
1. El motor de la bomba debe ser puesto a tierra
adecuadamente y de forma segura con el tornillo verde
proporcionado. Complete el aterramiento antes de conectar
al suministro de energía eléctrica. No conecte a tierra en
una tubería de suministro de gas.
2. El tamaño del cable debe ser adecuado para minimizar
la caída de tensión durante el arranque y funcionamiento
de la bomba. Vea la Tabla 1 para conocer los tamaños de
cable sugeridos.
3. Aísle todas las conexiones con cuidado para evitar cable a
tierra o cortocircuitos. Los bordes afilados en los terminales
requieren una protección extra. Para evitar que las tuercas


