1716
FUNCIONES
BLUETOOTH
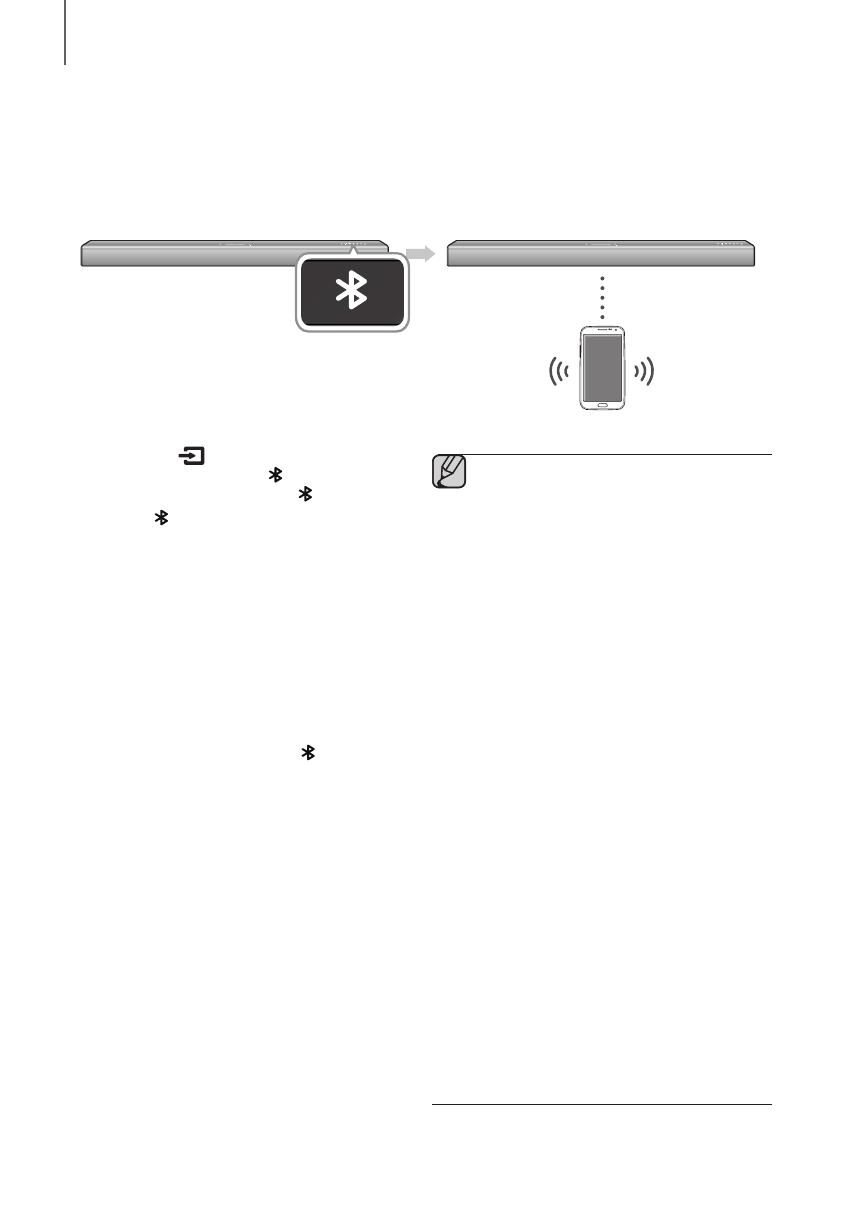
Se puede utilizar para conectar el dispositivo Bluetooth al Soundbar para poder disfrutar de la música con un sonido
estéreo de gran calidad, sin necesidad de cables.
+ Para conectar el Soundbar a un dispositivo Bluetooth
Compruebe si el dispositivo Bluetooth admite la función de cascos con auriculares estéreo compatibles con Bluetooth.
Dispositivo Bluetooth
Conectar
1. Pulse el botón ( ) del panel superior de la unidad
principal o el botón Bluetooth del mando a
distancia para ver el LED del icono .
• El LED parpadeará indicando que el
dispositivo Bluetooth aún no está conectado.
2. Seleccione el menú de Bluetooth o el dispositivo
Bluetooth que desea conectar. (Consulte el manual
del usuario del dispositivo Bluetooth.)
3. Seleccione el menú de los cascos estéreo en un
dispositivo Bluetooth.
•Podrá ver la lista de dispositivos rastreados.
4. Seleccione "[Samsung] Soundbar J-Series" en la
lista.
• Si el dispositivo Bluetooth está correctamente
conectado a la Soundbar, el LED
dejará de
parpadear.
• Si el dispositivo Bluetooth no se empareja con la
Barra de sonido, borre la "[Samsung] Soundbar
J-Series" anteriormente encontrado por el
dispositivo Bluetooth y realice una búsqueda de la
Barra de sonido de nuevo.
5. Reproduzca música en el dispositivo conectado.
• Puede escuchar la música que se esté
reproduciendo en el dispositivo Bluetooth
conectado desde el sistema Soundbar.
• El modo BT, las funciones Play (Reproducir)/
Pause (Pausa)/Next (Siguiente)/Prev (Anterior)
no están disponibles. No obstante, estas
funciones están disponibles en dispositivos
Bluetooth compatibles con AVRCP.
● Si se solicita un código PIN al conectar un
dispositivo Bluetooth, ingrese <0000>.
● Sólo es posible emparejar un dispositivo
Bluetooth al mismo tiempo.
● La conexión Bluetooth terminará cuando se
apague la Soundbar.
● Es posible que la Soundbar no pueda realizar
correctamente una búsqueda o una
conexión mediante Bluetooth en las
siguientes circunstancias:
- Si hay un campo eléctrico potente
alrededor de Soundbar.
- Si varios dispositivos Bluetooth están
simultáneamente emparejados con
Soundbar.
- Si el dispositivo Bluetooth está
desactivado, no está en su sitio o sufre
una avería.
- Tenga en cuenta que dispositivos como
hornos microondas, adaptadores de LAN
inalámbrica, luces fluorescentes y hornos
de gas utilizan el mismo rango de
frecuencias que el dispositivo Bluetooth,
pueden causar interferencias eléctricas.
● La Soundbar admite datos SBC (44,1 kHz,
48 kHz).
● Conecte sólo a un dispositivo Bluetooth que
admita la función A2DP (AV).
● No puede conectar la Soundbar a un
dispositivo Bluetooth que admita solo la
función HF (manos libres).
● Una vez emparejado, si la Soundbar está en
modo D.IN, AUX o USB, si se selecciona
"[Samsung] Soundbar J-Series" en la lista
en su dispositivo Bluetooth, se cambiará
automáticamente el modo de la Soundbar a
BT.
HW-J250_ZP_AH68-02983E-SPA-00_20161123.indd 16 2016/11/23 9:58:38