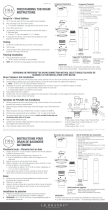
4
OPTIONAL PROCEDURE:
Whendraininstallisrequiredtobeush
againstthenishedwall,buildoutwallwith
backer board over round clamp down drain
body (F) to compensate for the drain radius.
PROCEDIMIENTO OPCIONAL:
Cuando el drenaje sea instalado, se requi-
ere que esté completamente a la pared,
construir la pared con múltiples paneles de
cemento sobre el redondo drenaje (F) para
compensar el radial del drenaje.
Installation
1. Determine the location of the drain outlet
location. Typically linear drains span a dimen-
sion from wall to wall, against a wall or at a
shower entrance.
2. If clamp down drain body (F) is not
installed. Attach (F) to existing waste line
and allow drain body to recess into sub-
floor. Ensure that drain body (F) is level.
Unscrew and remove top clamp down plate
from drain body.
3. Spread a primary mortar bed across the
intended shower area. Pitch this bed in four
directions towards the drain body (F).
4. When mortar layer is dry, perform
necessarywaterproong(PVCLiner,CPE
Rubber Liner/Chloraloy™, Lead Pan, Copper
Pan, Hot Mop, Fiberglass) as per local code.
Ensurewaterproonglayerreachesthe
edge of the hole in the drain body (F). Reat-
tach the top clamp down plate to the clamp
downdrainbody(F)overthewaterproong
layer using bolts.
5. Measure desired wall to wall length, allow
for wall tile thickness and 3/16” for both stop
ends (C). Cut PVC channel (B) to desired length.
Instalación
1. Determine la ubicación del emplazamiento
del drenaje. Típicamente el drenaje lineal atra-
viesa una dimensión de pared a pared, contra
la pared, o en una entrada de un baño.
2. Si el drenaje (F) no está instalado. Adjuntar
el drenaje (F) a la línea de residuos exis-
tentes y permite el drenaje a que descanse
en el piso. Asegúrese, que el drenaje (F) este
nivelado. Destornilla y remueve la placa de
sujeción de arriba.
3. Esparcir una primaria de capa de mortero a
través del destino o zona del baño. Lanzar la
capa de mortero en cuatro direcciones hacia
el drenaje (F).
4. Cuando la capa de mortero este seca, realice
la impermeabilización necesaria (Forro del PVC,
cobre, panal de vidrio) según el código local.
Asegura que la capa de impermeabilización
alcance al borde del agujero en el drenaje (F).
Vuelva a colocar la placa de sujeción de arriba
al drenaje (F) sobre las capa de impermeabili-
zación usando tonillos.
5. Medir la longitud deseada a pared a pared,
permitir el espesor de la baldosa pared y
3/16” por ambas partes (C). Corte canal (B) a
la desead longitud.
TENER EN CUENTA SOLO PARA S-AG38/
S-DG38/S-AG65/ S-DG65/S-TIF 65: Tener en
cuenta en los dos 7/16” sección (D) a lo largo
del canal.
NOTE ONLY FOR S-AG38/S-DG38/S-AG65/
S-DG65/S-TIF 65 Series: Account for the
2-7/16” outlet section (D) along channel
length.
6a. ONLY FOR S-AG38/S-DG38/S-AG65/
S-DG65/S-TIF65 Install: Cut the sized PVC
channel at the desired location of the outlet
section. Insert the open ends of the PVC
channel (B) into the slotted ends of the outlet
section(D)Drytcomponentsbeforeaxing.
AxwithclearPVCprimerandPVCcement.
6a. SOLO PARA S-AG38/S-DG38/S-AG65/
S-DG65/S-TIF65 INSTALACION: Corte el
canal de PVC a la ubicación deseada a
donde va ser la sección de salida de agua.
Pegar la parte (D) a la parte (B) del canal con
PVC cemento.
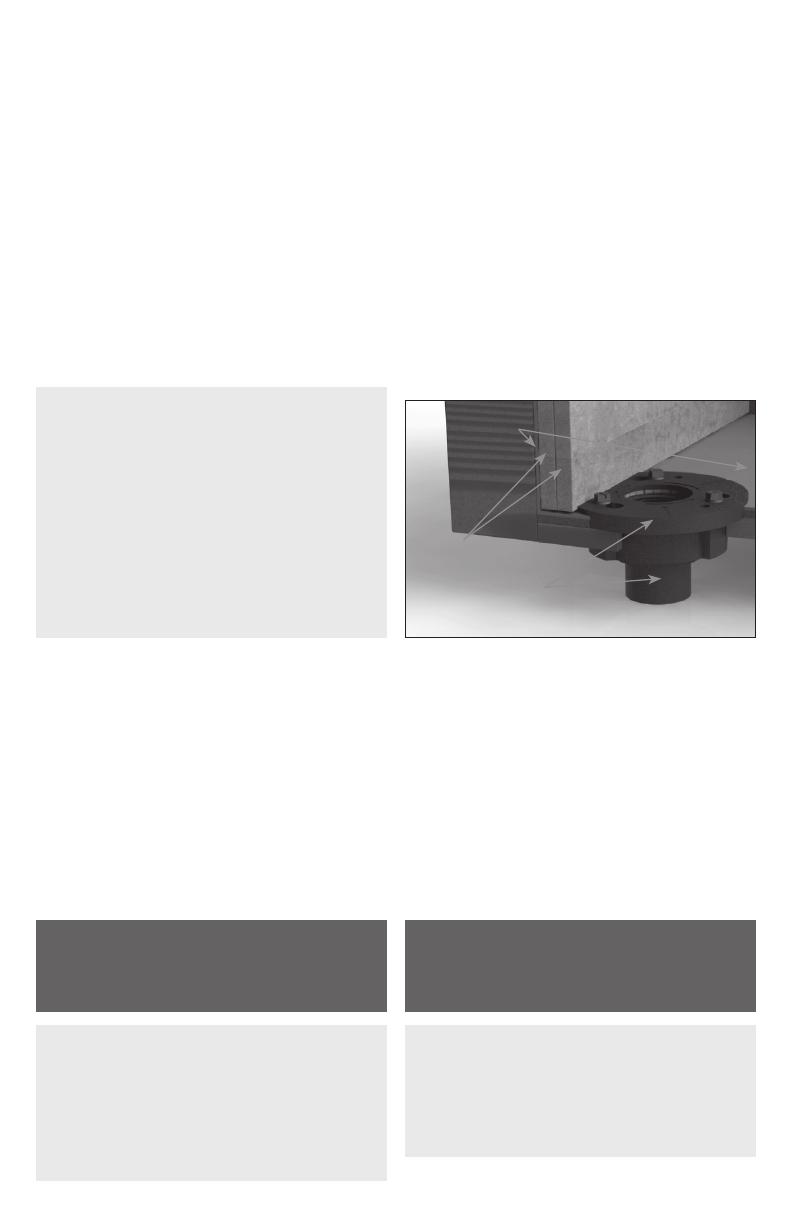
Waterproong
Membrane
Double Layer Backer Board
(F) 2” Throat Clamp Down
Drain Body* (Two Pieces)
(F1)
(F2)
*Not provided by Innity Drain kits
OPTIONAL PROCEDURE / PROCEDIMIENTO OPCIONAL