Pantalla táctil
Para navegar en tu teléfono
• Usa la punta de tus dedos
para tocar ligeramente
la pantalla.
• Da golpecitos rápidos con tus
dedos en la pantalla táctil
para deslizarte hacia arriba,
abajo, izquierda y derecha.
• Para regresar a la pantalla
anterior, toca .
• Toca
en cualquier momento para regresar
a la pantalla principal. Toca por unos segundos
para tener acceso a tus aplicaciones más
recientes.
• Toca para tener acceso a las aplicaciones en
tu téléfono.
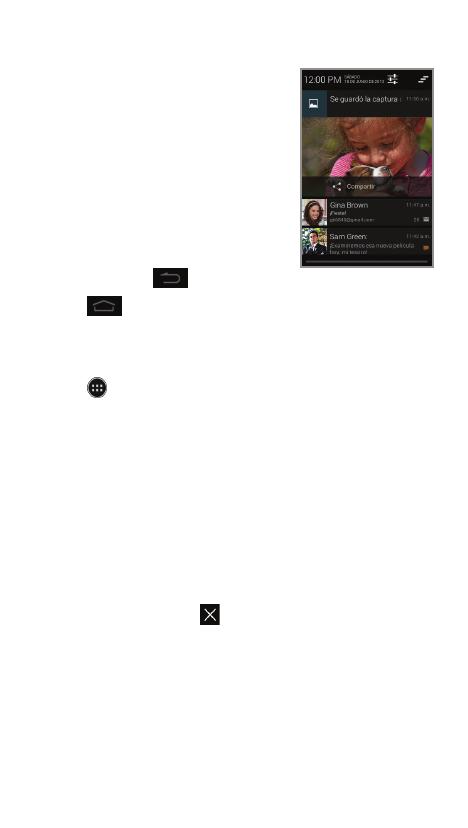
Panel de noticaciones
El panel de noticaciones te proporciona acceso
rápido a alertas, que incluyen mensajes, correos
electrónicos y actualizaciones de software.
• Toca la parte superior de la pantalla principal y
arrastra tu dedo hacia abajo para ver el panel
de noticaciones.
• Desliza a la derecha para eliminar noticaciones
individuales o toca para eliminarlas todas.
Servicios de Aio
¡Estos servicios hacen que el uso de Aio sea mejor
y más sencillo!
My Aio: ten acceso a la facturación, haz
pagos rápidos, ve el uso y ten acceso a la
ayuda desde la palma de tu mano.
Aio Wi-Fi:
conéctate automáticamente a
sitios con cobertura gratuita de Wi-Fi, que te
ayudan a maximizar el uso de la
información y mejorar la cobertura.
Aio Voicemail: rápidamente ve, ten acceso
a y reproduce tus mensajes de correo
de voz. Guarda fácilmente números
importantes en tu lista de Favoritos y
responde a los mensajes llamando o
enviando un mensaje de texto.
Para actualizar y usar las aplicaciones
1. Desde la pantalla principal, deslízate hacia
la derecha para ver la siguiente pantalla
principal, o toca para abrir la bandeja
de aplicaciones.
2. Toca el icono correspondiente y luego toca el
botón de la parte inferior de la pantalla para
ir a Google Play
™
.
3. En Google Play, toca Actualizar.
4. Toca Aceptar y descargar.
5. Una vez instalada, verás una noticación en el
panel de noticaciones. Toca la noticación
para abrir la aplicación, o para colocarla
en la bandeja aplicaciones o en la pantalla
principal.


