ESPAÑOL
RQT7533
8
CDs
Repetición de reproducción
CD
MP3
Mando a distancia solamente
Pulse [REPEAT] durante la reproducción.
Se visualiza “ ” .
Para cancelar la repetición de reproducción
Pulse [REPEAT] para cancelar “ ” .
Nota
Puede utilizar el modo de repetición con la reproducción programada
(A consulte más derecha) y con la función del modo de reproducción
de CD (A consulte más abajo).
a ALL-DISC: Se reproducen en orden consecutivo todos los
discos cargados, desde el disco seleccionado hasta
el disco final
\
.
b 1-SONG: Se reproduce una pista seleccionada del disco
seleccionado.
c 1-ALBUM:
MP3
Reproduce un álbum seleccionado del disco
seleccionado.
d 1-RANDOM:
CD
Se reproduce en orden aleatorio un disco
seleccionado.
e A-RANDOM:
CD
Se reproducen en orden aleatorio todos los
discos cargados.
f 1-DISC: Se reproduce un disco seleccionado.
Mando a distancia solamente
Preparación: Pulse [:/J, CD] y luego [L, CLEAR].
CD
1 Pulse [PLAY MODE] para seleccionar el modo deseado.
Cada vez que pulse el botón:
a ALL-DISC b 1-SONG
f 1-DISC
→
d 1-RANDOM
→
e A-RANDOM
→
∧
<
Vaya al paso 4 cuando seleccione A-RANDOM en el paso 1.
2 Pulse [DISC] y (antes de que pasen 10 segundos) [1]–[5]
para seleccionar el disco.
El CD empieza a reproducirse.
3 Sólo cuando seleccione “1-SONG” en el paso 1
Seleccione la pista en el disco actual con los botones
numerados.
Para seleccionar la pista 10 u otra superior, pulse [
X
10] y luego
los dos dígitos.
Se reproduce la pista seleccionada.
4 Sólo cuando seleccione “A-RANDOM” en el paso 1
Pulse [:/J, CD] para iniciar la reproducción.
MP3
1 Pulse [PLAY MODE] para seleccionar el modo deseado.
Cada vez que pulse el botón:
a ALL-DISC c 1-ALBUMb 1-SONG
f 1-DISC
→→
∧
<
2 Pulse [DISC] y (antes de que pasen 10 segundos) [1]–[5]
para seleccionar el disco.
El CD empieza a reproducirse.
3 Cuando seleccione “1-ALBUM” o “1-SONG” en el paso 1
Pulse [ALBUM ( o )] para seleccionar el álbum.
La reproducción empieza desde la primera pista del álbum
seleccionado.
4 Sólo cuando seleccione “1-SONG” en el paso 1
Pulse los botones numerados para seleccionar la
pista en el álbum actual.
Para seleccionar la pista 10 u otra superior, pulse una vez [
X
10] y
luego los dos dígitos.
Para seleccionar la pista 100 u otra superior, pulse dos veces
[
X
10] y luego los tres dígitos.
Se reproduce la pista seleccionada.
Para detener la reproducción
Pulse [L, CLEAR].
Cuando termine la reproducción
El modo de reproducción actual se retendrá en la memoria, aunque
se apague el aparato, hasta que se cambie.
\
Disco final
Por ejemplo, si la reproducción empieza desde el disco 4, el disco 3
será el “disco final”.
Orden de progresión: Disco 4z5z1z2z3
L
MP3
Cuando aparezca “NOT MP3/ERROR1” en el visualizador
Se está reproduciendo un formato MP3 incompatible. El aparato
omitirá esa pista y reproducirá la siguiente.
Nota
•
Usted no puede utilizar el modo de programa con la función del
modo de reproducción de CD.
•
MP3
Durante el modo 1-ALBUM, la selección de pista sólo puede
realizarse dentro del álbum actual.
Reproducción programada
CD
MP3
Puede programar un máximo de 24 pistas.
Mando a distancia solamente
CD
Preparación: Pulse [
::
::
:/
JJ
JJ
J, CD] y luego [L, CLEAR].
1 Pulse [PROGRAM].
Aparece “PGM”.
2 Pulse [DISC] y (antes de que pasen 10 segundos) [1]–[5]
para seleccionar el disco.
3 Seleccione las pistas con los botones numerados.
Para seleccionar la pista 10 u otra superior, pulse [
X
10] y luego
los dos dígitos correspondientes.
Repita los pasos 2 y 3 para programar otras pistas.
4 Pulse [:/J, CD] para iniciar la reproducción.
MP3
Preparación:
1. Pulse [DISC] y (antes de que pasen 10 segundos) [1]–[5] para
seleccionar el disco.
2. Pulse [L, CLEAR].
1 Pulse [PROGRAM].
Aparece “PGM”.
2 Pulse [ALBUM ( o )] para seleccionar el álbum.
Para seleccionar un álbum directamente, pulse los botones
numerados después de pulsar [ALBUM ( o )].
Para seleccionar el álbum 10 u otro superior, pulse una vez [
X
10]
y luego los dos dígitos.
Para seleccionar el álbum 100 u otro superior, pulse dos veces
[
X
10] y luego los tres dígitos.
3 Pulse [
g, REW/3] o [ f, 4/FF] para seleccionar la
pista.
Para seleccionar directamente una pista, pulse los botones
numerados después de pulsar [
g, REW/3] o [f, 4/FF].
Para seleccionar la pista 10 u otra superior, pulse una vez [
X
10] y
luego los dos dígitos.
Para seleccionar la pista 100 u otra superior, pulse dos veces
[
X
10] y luego los tres dígitos.
4 Pulse [ENTER].
Repita los pasos 2~4 para programar otras pistas.
5 Pulse [:/J, CD] para iniciar la reproducción.
Para salir del modo de programación
Pulse [PROGRAM] en el modo de parada. (Puede reproducir su
programa pulsando [PROGRAM] y luego [:/J, CD].)
Mientras se visualiza “P”,
usted puede hacer lo siguiente
•
Para comprobar el contenido del programa
Pulse [g, REW/3] o [f, 4/FF].
Cada vez que pulse el botón:
CD
Se visualizará el número de pista y el orden de programación.
MP3
Cada vez que usted pulsa el botón se visualiza el orden del
programa, y luego el número del álbum y el número de la
pista.
Para escuchar CDs y pistas
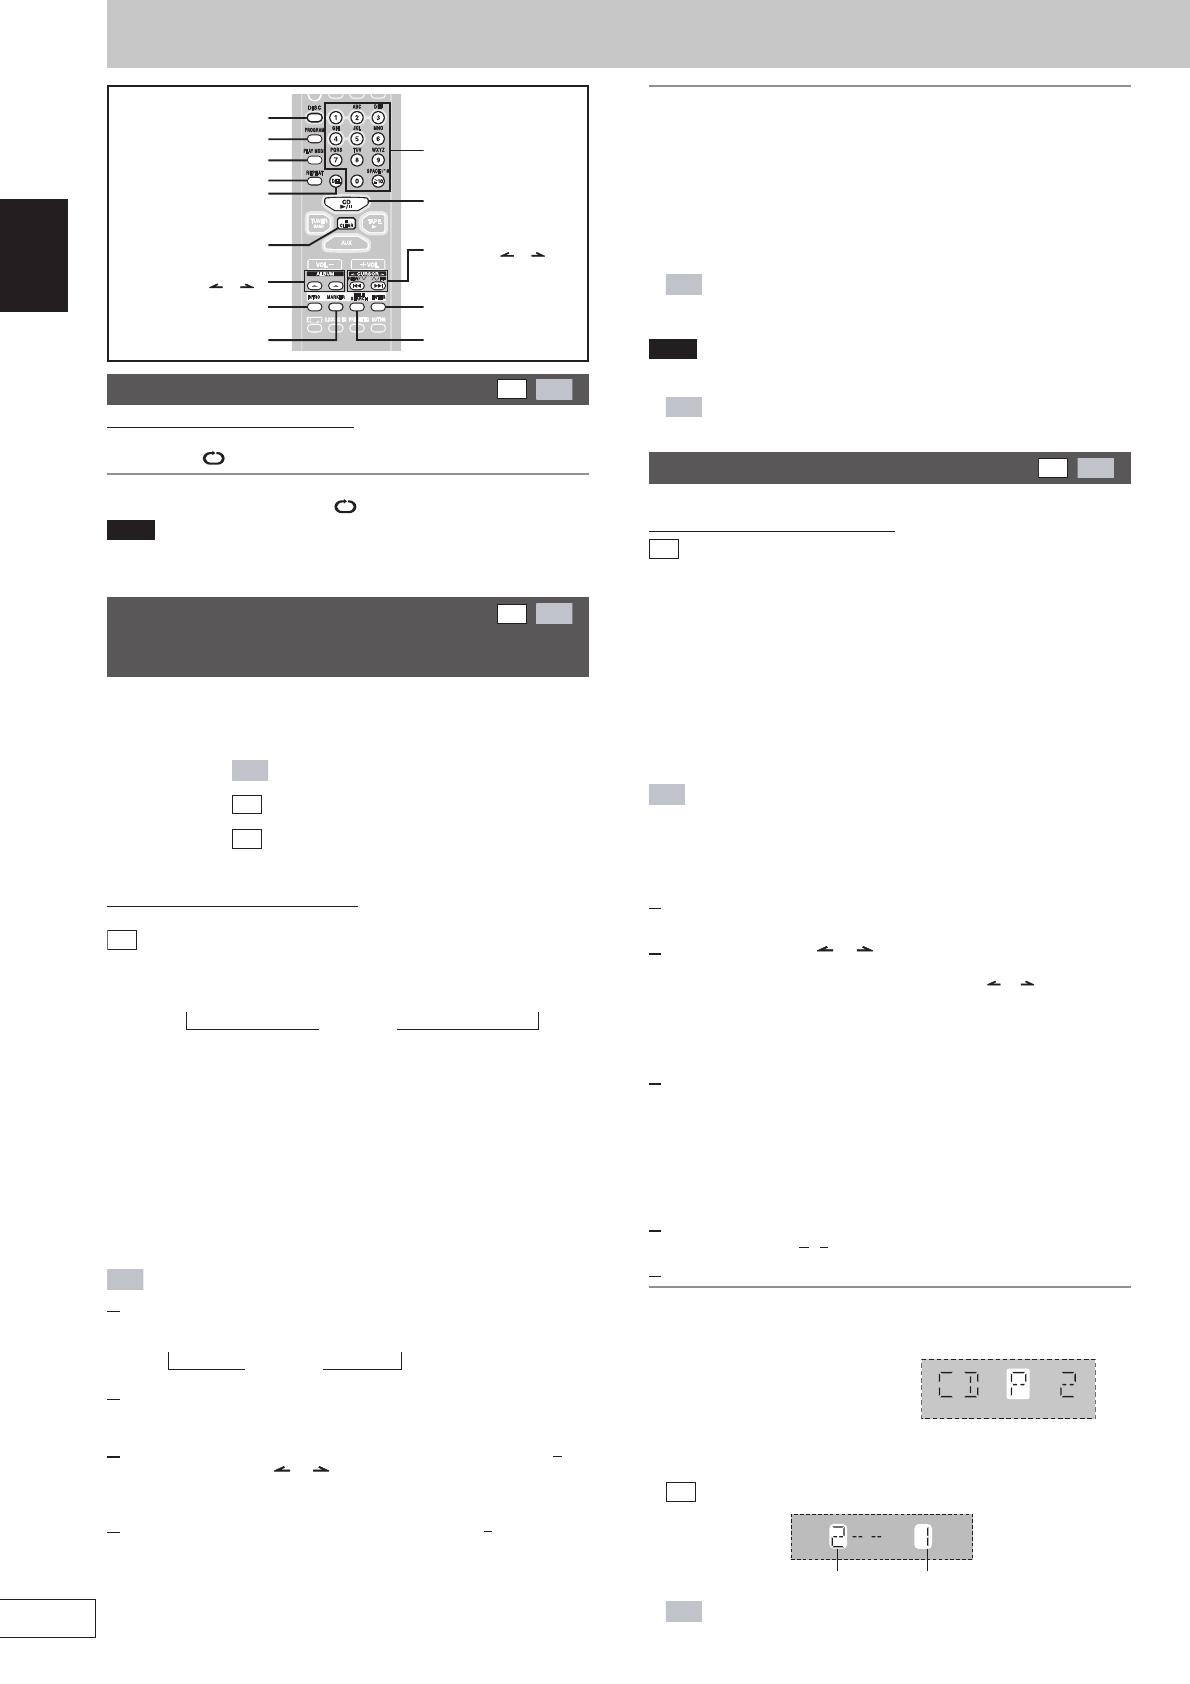
CD
MP3
específicas (Función del modo
de reproducción de CD)
L, CLEAR
ENTER
Botones
numerados
ALBUM (
o )
CURSOR (
o ),
g
, REW/3,
f
, 4/FF
DEL
INTRO
-/J, CD
TITLE SEARCH
MARKER
REPEAT
PLAY MODE
PROGRAM
DISC
Número de pista orden Orden del programa


