6-a
4
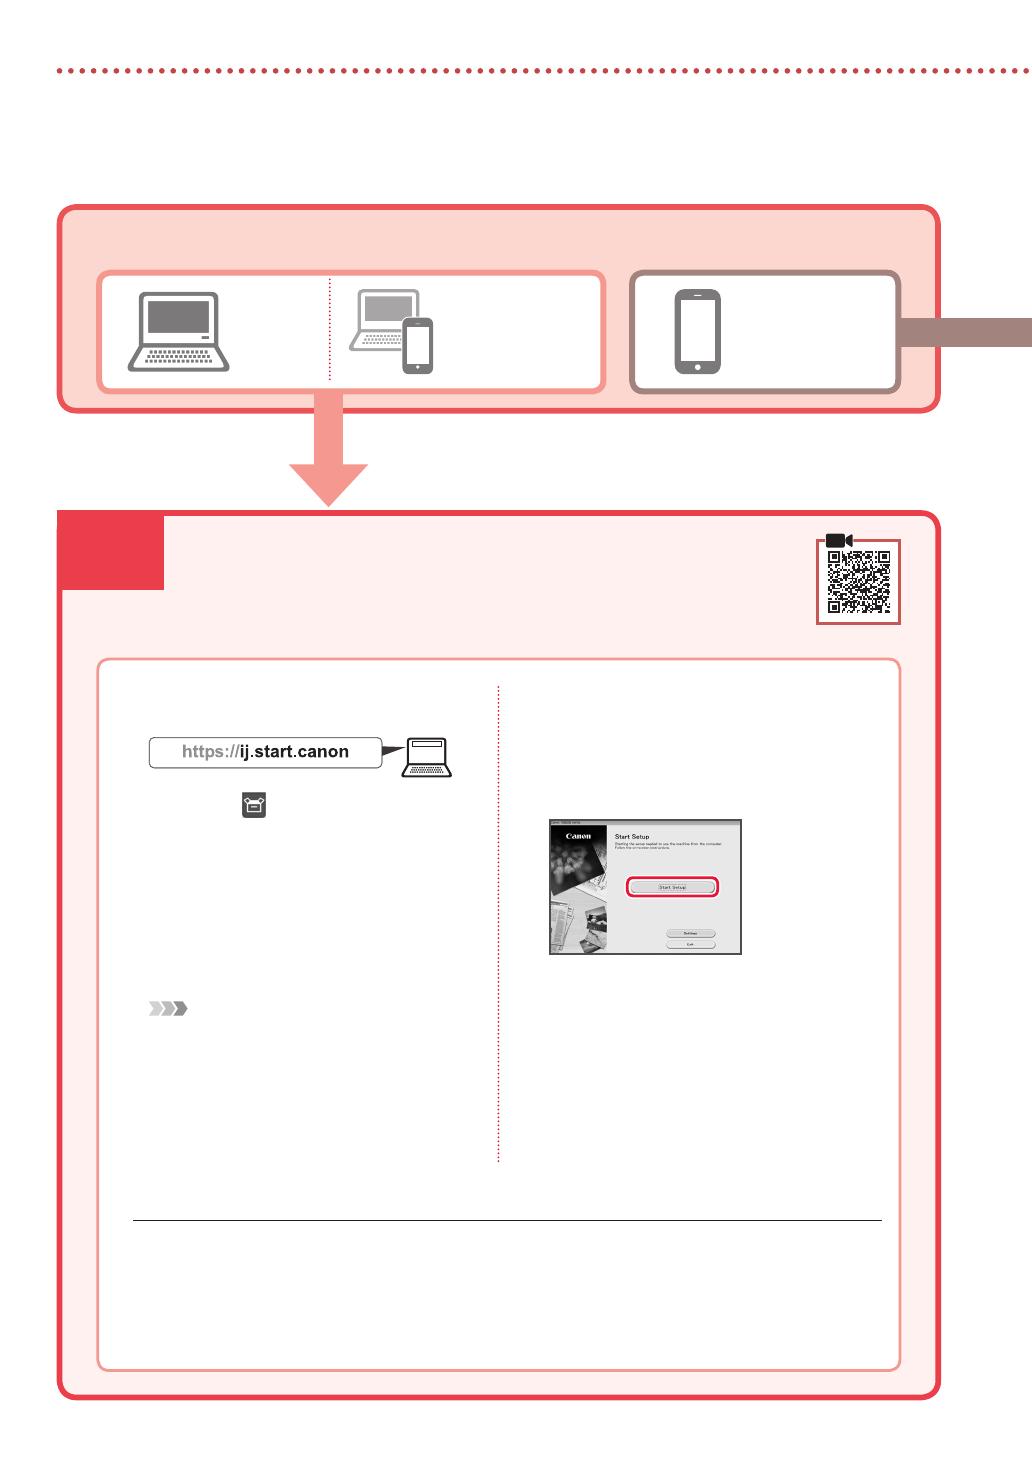
Instalación de la impresora
Ordenador Teléfono inteligente
Ordenador y
teléfono inteligente
Conectar al ordenador
Si utiliza varios ordenadores, realice estos pasos en cada ordenador.
1
Acceda al sitio web de Canon desde un
ordenador.
2
Seleccione Configurar.
3
Escriba el nombre del modelo de su
impresora y haga clic en Ir.
4
Haga clic en Iniciar.
5
Haga clic en Si ya ha preparado la
impresora, vaya a Conectar.
Nota
Los siguientes pasos son para usuarios de Windows
(excepto Windows 10 in S mode) y macOS. Para otros
sistemas operativos, continúe con la configuración
siguiendo las instrucciones en pantalla.
6
Haga clic en Descargar.
7
Ejecute el archivo descargado.
8
Haga clic en Iniciar configuración
(Start Setup).
9
Siga las instrucciones que aparezcan en
pantalla.
•
Estas operaciones pueden llevar algún
tiempo.
•
Para conectar con un teléfono inteligente
también, consulte "6-b. Conexión con un
teléfono inteligente" en la página 5.
Uso del CD-ROM de instalación para Windows
Haga doble clic en EasySetup.exe en el CD-ROM y, a continuación, continúe desde el paso 3. Si no
tiene una conexión a Internet, abra la carpeta win en el CD-ROM y haga doble clic en SETUP.exe. Esto
instalará el controlador de la impresora.
¿Qué dispositivo va a conectar?
6-a.Conexión con un ordenador


