Mr. Coffee LMX Series Manual de usuario
- Categoría
- Cafeteras
- Tipo
- Manual de usuario
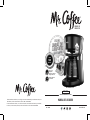
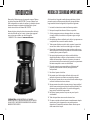
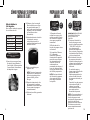
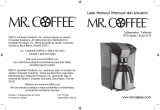
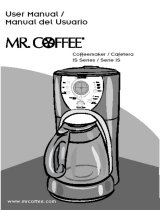
La cafetera Mr. Coffee LMX Series facilita hacer café de gran sabor en casa. Con su jarra de 12 tazas, es perfecta para reuniones familiares o para tener café listo durante todo el día. La cafetera también cuenta con un sistema de filtración de agua avanzado que elimina las impurezas para mejorar el sabor del café. Además, la cafetera es fácil de limpiar, ya que las piezas desmontables se pueden lavar en el lavavajillas.
La cafetera Mr. Coffee LMX Series facilita hacer café de gran sabor en casa. Con su jarra de 12 tazas, es perfecta para reuniones familiares o para tener café listo durante todo el día. La cafetera también cuenta con un sistema de filtración de agua avanzado que elimina las impurezas para mejorar el sabor del café. Además, la cafetera es fácil de limpiar, ya que las piezas desmontables se pueden lavar en el lavavajillas.


-
 1
1
-
 2
2
-
 3
3
-
 4
4
-
 5
5
-
 6
6
-
 7
7
-
 8
8
-
 9
9
-
 10
10
-
 11
11
-
 12
12
-
 13
13
-
 14
14
-
 15
15
-
 16
16


Mr. Coffee LMX Series Manual de usuario
- Categoría
- Cafeteras
- Tipo
- Manual de usuario
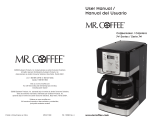
La cafetera Mr. Coffee LMX Series facilita hacer café de gran sabor en casa. Con su jarra de 12 tazas, es perfecta para reuniones familiares o para tener café listo durante todo el día. La cafetera también cuenta con un sistema de filtración de agua avanzado que elimina las impurezas para mejorar el sabor del café. Además, la cafetera es fácil de limpiar, ya que las piezas desmontables se pueden lavar en el lavavajillas.
en otros idiomas
- English: Mr. Coffee LMX Series User manual
Artículos relacionados
-
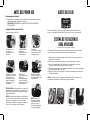
 Mr. Coffee BVMC-IHCMBL Manual de usuario
-
Mr. Coffee Mr. Coffee 2132160 Later Coffee Maker Manual de usuario
-
 Mr. Coffee PSTX Serie Manual de usuario
-
Mr. Coffee 110687 Manual de usuario
-
 Mr. Coffee 115949 Manual de usuario
-
Mr. Coffee FT Series Manual de usuario
-
-
Mr. Coffee ECTX85 Manual de usuario
-
 Mr. Coffee JWTX95 El manual del propietario
-
Mr. Coffee JWX27 Manual de usuario


