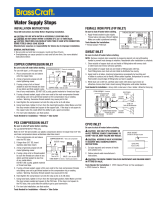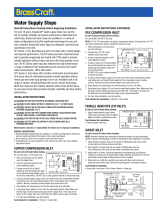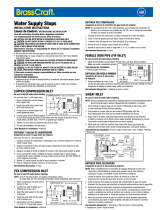
BRASS FITTING INSTALLATION GUIDE
Brass Pipe
Compression
Flare
Garden Hose
1. Apply either pipe joint compound or sealant tape to male threads.
2. Put pipe fitting into female thread and tighten with a wrench.
1. Aplica sellador para uniones de tubería o cinta selladora a las roscas macho.
2. Coloca el acoplamiento de tubería dentro de la rosca hembra y ajusta con una llave.
Hose Barb
1. Put clamp or sleeve over tube.
2. Fit tubing on barb and tighten clamp/sleeve.
1. Coloca la abrazadera o funda sobre el tubo.
2. Ajusta la tubería en el racor y aprieta la abrazadera/funda.
*For copper and aluminum tubing only.
1. Fit nut on deburred tubing. Flare tubing using a flare tool.
2. Hand tighten, plus 1/4 turn with wrench.
*Sólo para tuberías de cobre y aluminio.
1. Ajusta la tuerca en la tubería sin rebaba. Expande la tubería con la herramienta correspondiente.
2. Aprieta con la mano y da ¼ de giro con llave.
*Use metal insert on any non-metallic tubing.
1. Fit nut onto tubing and then insert sleeve.
2. Cut tubing square. Insert tubing into fitting.
3. Hand tighten, plus 1/4 turn with wrench.
*Usa aditamentos de metal en las tuberías no metálicas.
1. Ajusta la tuerca en la tubería y e introduce después la funda.
2. Corta la tubería en escuadra (recto). Introduce la tubería en el acoplamiento.
3. Aprieta con la mano y da 1/4 de giro con llave.
page 1


