45
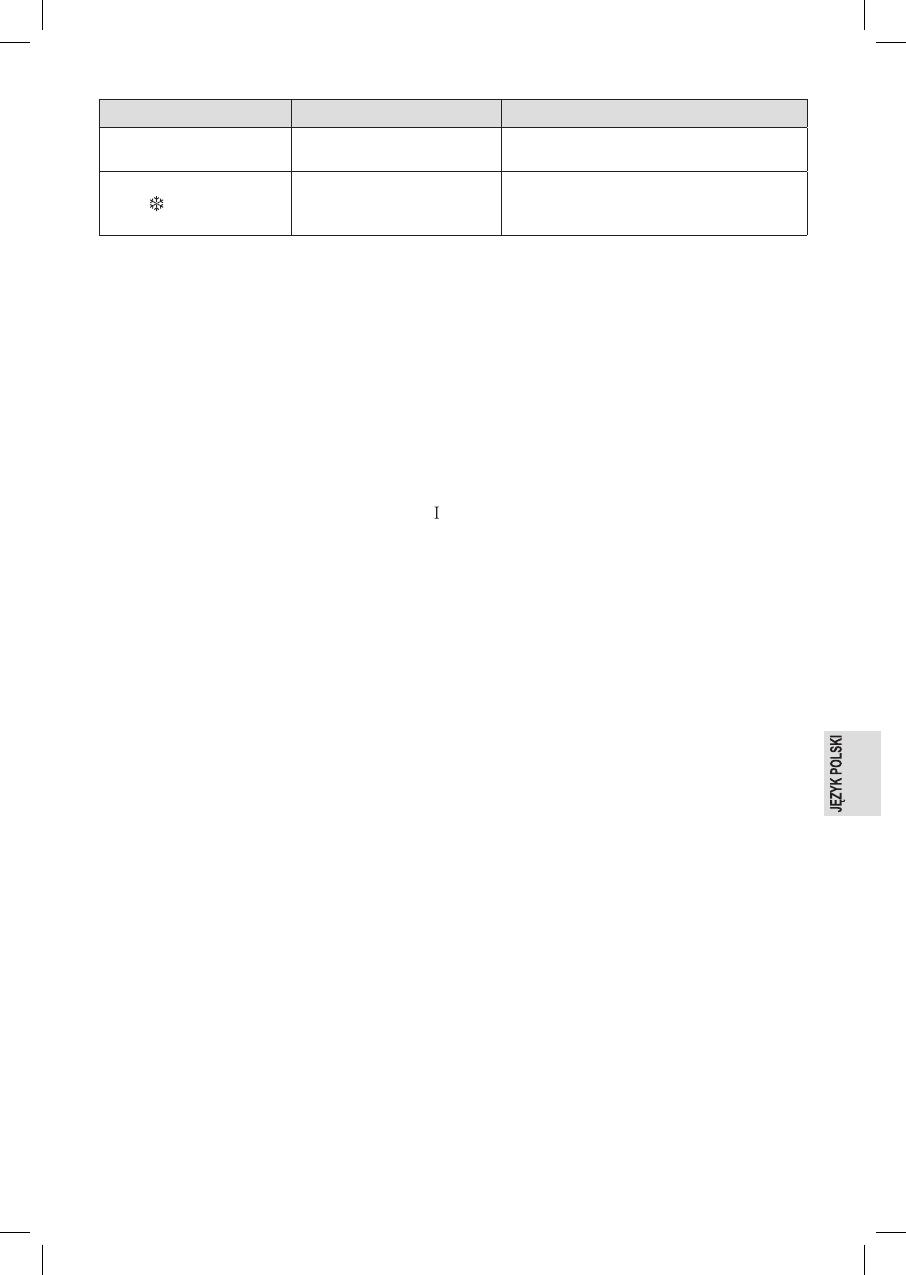
Problem Możliwa przyczyna Środek zaradczy
Mieszadło zatrzymuje się
podczas programu.
Lody są zbyt twarde. Blokada
silnika (funkcja ochronna).
Wyłączyć urządzenie i wyjąć wtyczkę sieciową
z gniazdka. Wyjąć lody.
Na wyświetlaczu pojawia się
symbol . Kompresor nie
włącza się.
Zabezpieczenie przed przegrza-
niem jest aktywne.
Przed ponownym uruchomieniem pozostawić urzą-
dzenie na ok. 30 minut do ostygnięcia.
Dane techniczne
Model:......................................................................ICM 3799
Zasilanie: .................................................. 220 – 240 V~, 50 Hz
Pobór mocy
Moc chłodzenia: .......................................................100 W
Moc grzewcza: ........................................................22,8 W
Czynnik chłodniczy: ............................................ R600a / 18 g
Gaz do wdmuchiwania izolacji: ......................................C5H10
Maksymalna pojemność: ........................................... 1000 ml
Przygotowanie lodów
Przygotowanie lodów: ............................................. 550 ml
Przygotowanie jogurtu: ........................................... 900 ml
Stopień ochrony: ....................................................................
Waga netto: .................................................................ok. 7 kg
Zastrzegamy sobie prawo wprowadzania zmian technicz-
nych i projektowych w trakcie ciągłego rozwoju produktu.
To urządzenie zostało przetestowane zgodnie z wszystkimi
obowiązującymi, aktualnymi dyrektywami CE i zbudowane
zgodnie z najnowszymi przepisami bezpieczeństwa.
Warunki gwarancji
Przyznajemy 24 miesiące gwarancji na produkt licząc od
daty zakupu.
W tym okresie będziemy bezpłatnie usuwać w terminie
14 dni od daty dostarczenia wadliwego sprzętu z kartą
gwarancyjną do miejsca zakupu wszystkie uszkodzenia
powstałe w tym urządzeniu na skutek wady materiałów
lub wadliwego wykonania, naprawiając oraz wymieniając
wadliwe części lub (jeśli uznamy za stosowne) wymieniając
całe urządzenie na nowe.
Sprzęt do naprawy powinien być dostarczony w komplecie
wraz z dowodem zakupu oraz z ważną kartą gwarancyjną
do sprzedawcy w miarę możliwości w oryginalnym opako-
waniu lub innym odpowiednim dla zabezpieczenia przed
uszkodzeniem. W razie braku kompletnego opakowania fa-
brycznego, ryzyko uszkodzenia sprzętu podczas transportu
do i z miejsca zakupu ponosi reklamujący.
Naprawa gwarancyjna nie dotyczy czynności przewidzianych
w instrukcji obsługi, do wykonania których zobowiązany jest
użytkownik we własnym zakresie i na własny koszt.
Gwarancja nie obejmuje:
• mechanicznych, termicznych, chemicznych uszkodzeń
sprzętu i wywołanych nimi wad,
• uszkodzeń powstałych w wyniku działania sił zewnętrz-
nych takich jak wyładowania atmosferyczne, zmiana
napięcia zasilania i innych zdarzeń losowych,
• nieprawidłowego ustawienia wartości napięcia elektrycz-
nego, zasilanie z nieodpowiedniego gniazda zasilania,
• sznurów połączeniowych, sieciowych, żarówek, baterii,
akumulatorów,
• uszkodzeń wyrobu powstałych w wyniku niewłaściwego
lub niezgodnego z instrukcją jego użytkowania, przecho-
wywania, konserwacji, samowolnego zrywania plomb
oraz wszelkich przeróbek i zmian konstrukcyjnych doko-
nanych przez użytkownika lub osoby niepowołane,
• roszczeń z tytułu parametrów technicznych wyrobu, o ile
są one zgodne z podanymi przez producenta,
• prawidłowego zużycia i uszkodzeń, które mają nieistotny
wpływ na wartość lub działanie tego urządzenia.
Karta gwarancyjna bez pieczątki sklepu, daty sprzedaży, nie
wypełniona, źle wypełniona, ze śladami poprawek, nieczy-
telna wskutek zniszczenia, bez możliwości ustalenia miejsca
sprzedaży oraz dołączonego dowodu zakupu jest nieważna.
Korzystanie z usług gwarancyjnych nie jest możliwe po
upływie daty ważności gwarancji. Gwarancja na części lub
całe urządzenie, które są wymieniane kończy się, wraz
z końcem gwarancji na to urządzenie.
Wszystkie inne roszczenia, wliczając w to odszkodowania
są wykluczone chyba, że prawo przewiduje inaczej. Rosz-
czenia wykraczające poza tą umowę nie są uwzględniane
przez tą gwarancję.
Gwarancja na sprzedany towar konsumpcyjny nie wyłącza,
nie ogranicza ani nie zawiesza uprawnień kupującego
wynikających z niezgodności towaru z umową.
Gwarancja oraz zawarte w niej warunki obowiązują na
terenie Rzeczpospolitej Polskiej.
Dystrybutor:
CTC Clatronic Sp. z o.o
Ul. Brzeska 1
45-960 Opole


