Pelonis HO-0280 Manual de usuario
- Categoría
- Calentadores espaciales
- Tipo
- Manual de usuario
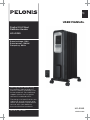
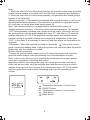
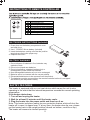
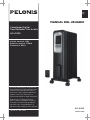
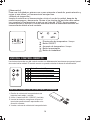
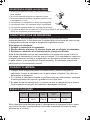
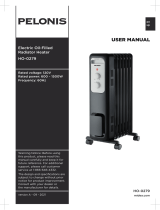
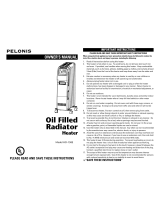
El Pelonis HO-0280 es un calentador de aceite digital con una potencia de 1500 vatios y una frecuencia de 60 hertz, ideal para calentar habitaciones de tamaño mediano a grande. Cuenta con cuatro configuraciones de calor para personalizar el nivel de calor deseado y un termostato ajustable para mantener una temperatura constante. También incluye un temporizador de 24 horas para programar el encendido y apagado automático, así como una función de bloqueo para niños para evitar cambios accidentales en la configuración. Además, es portátil y fácil de mover gracias a sus cuatro ruedas giratorias.
El Pelonis HO-0280 es un calentador de aceite digital con una potencia de 1500 vatios y una frecuencia de 60 hertz, ideal para calentar habitaciones de tamaño mediano a grande. Cuenta con cuatro configuraciones de calor para personalizar el nivel de calor deseado y un termostato ajustable para mantener una temperatura constante. También incluye un temporizador de 24 horas para programar el encendido y apagado automático, así como una función de bloqueo para niños para evitar cambios accidentales en la configuración. Además, es portátil y fácil de mover gracias a sus cuatro ruedas giratorias.


-
 1
1
-
 2
2
-
 3
3
-
 4
4
-
 5
5
-
 6
6
-
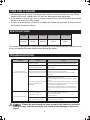 7
7
-
 8
8
-
 9
9
-
 10
10
-
 11
11
-
 12
12
-
 13
13
-
 14
14
-
 15
15
-
 16
16
-
 17
17
-
 18
18
-
 19
19
-
 20
20


Pelonis HO-0280 Manual de usuario
- Categoría
- Calentadores espaciales
- Tipo
- Manual de usuario
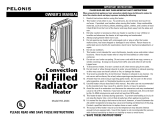
El Pelonis HO-0280 es un calentador de aceite digital con una potencia de 1500 vatios y una frecuencia de 60 hertz, ideal para calentar habitaciones de tamaño mediano a grande. Cuenta con cuatro configuraciones de calor para personalizar el nivel de calor deseado y un termostato ajustable para mantener una temperatura constante. También incluye un temporizador de 24 horas para programar el encendido y apagado automático, así como una función de bloqueo para niños para evitar cambios accidentales en la configuración. Además, es portátil y fácil de mover gracias a sus cuatro ruedas giratorias.
En otros idiomas
- English: Pelonis HO-0280 User manual
Documentos relacionados
-
 Pelonis HO-0279 Manual de usuario
-
Pelonis CH1001 Manual de usuario
-
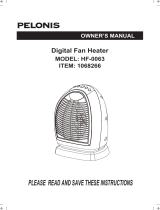 Pelonis HF-0063 El manual del propietario
-
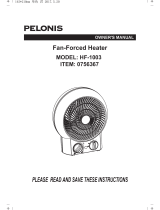 Pelonis HF-1003 El manual del propietario
-
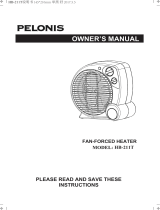 Pelonis HB-211T Guía del usuario
-
 Pelonis HO-158E El manual del propietario
-
 Pelonis HC-461 Disc Furnace V Manual de usuario
-
 Pelonis HC445B Manual de usuario
-
 Pelonis HO-202C Manual de usuario
-
Casio HR-212 Manual de usuario