94 Schnellreferenzhandbuch
www.dell.com | support.dell.com
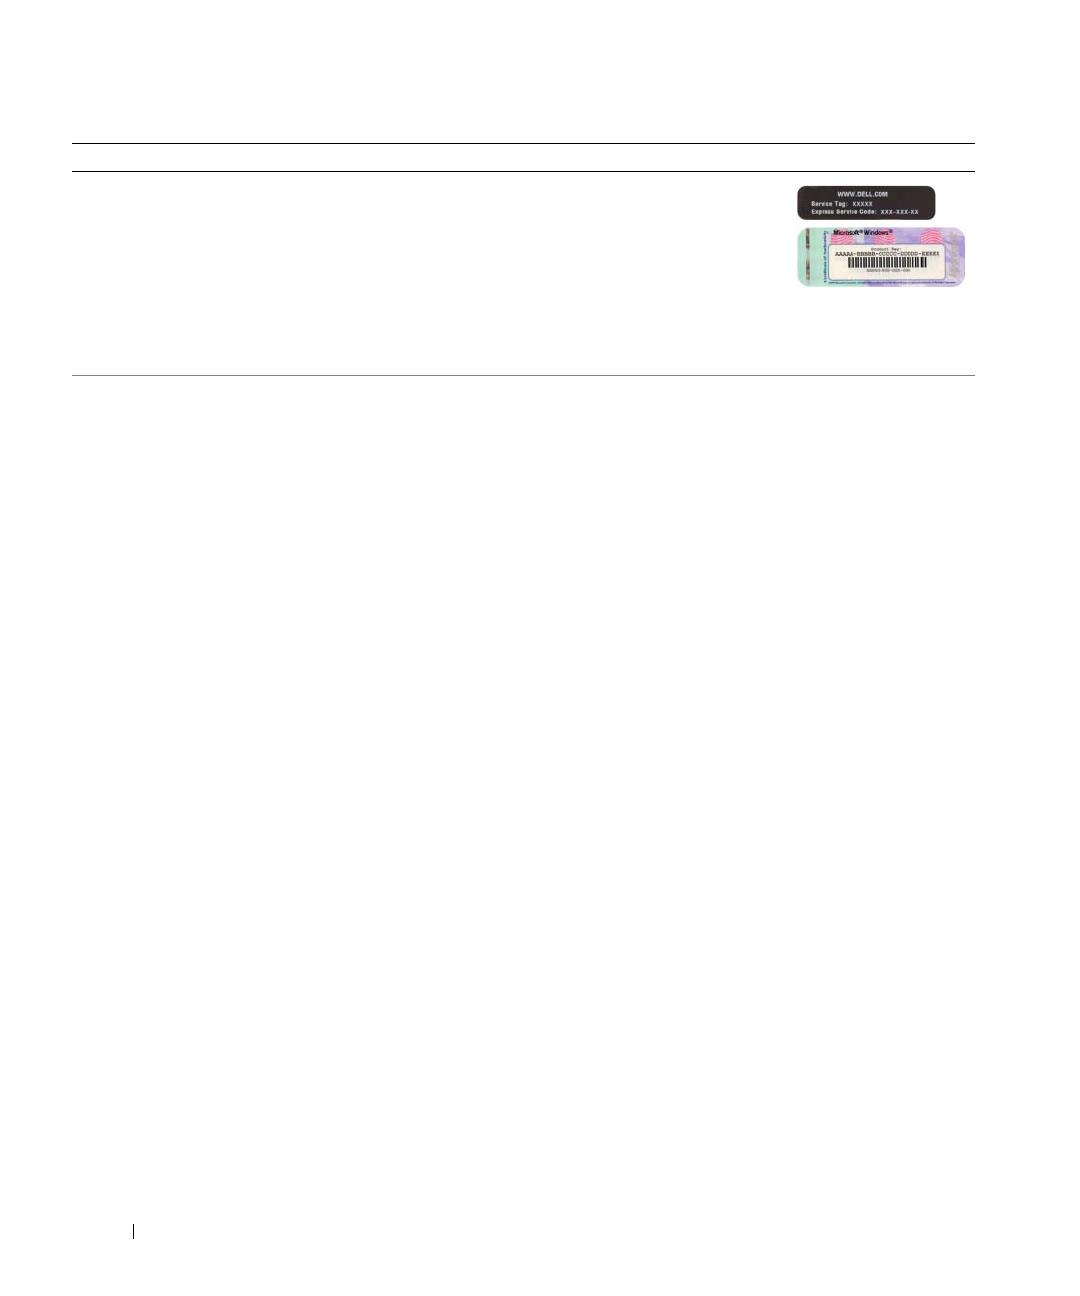
• Service-Tag-Nummer und Express-
Servicecode
• Microsoft Windows-Lizenzetikett
Service-Tag-Nummer und Microsoft Windows
Lizenz
Diese Etiketten sind am Computer angebracht.
• Geben Sie die Service-Tag-Nummer auf der
Website
support.dell.com
oder beim Anruf
beim Technischen Support an, um den
Computer zu identifizieren.
• Geben Sie beim Anruf beim Technischen Support den Express-Servicecode
an, um zum geeigneten Ansprechpartner weitergeleitet zu werden.
• Solutions (Lösungen) – Hinweise zum
Beheben von Störungen, Veröffentlichun-
gen von Technikern, Online-Schulungen,
häufig gestellte Fragen (FAQs)
• Community – Online-Diskussionen mit
anderen Dell-Kunden
• Aufrüstungen – Informationen zu Aufrüs-
tungen von Komponenten, wie z. B. Spei-
cher, Festplatten und Betriebssysteme
• Kundenbetreuung – Kontaktinformationen,
Serviceanfrage und Bestellstatus, Garantie
und Reparaturinformationen
• Service und Support – Status von Service-
Anfragen und Support-Historie, Service-
Kontakt, Online-Diskussionen mit dem
technischen Support
• Reference (Referenz) – Computerdoku-
mentation, Einzelheiten über die Com-
puterkonfiguration, Produktangaben und
Whitepapers
• Downloads – Zugelassene Treiber, Patches
und Software-Aktualisierungen
• Desktop-Systemsoftware (DSS) – Wenn Sie
das Betriebssystem auf Ihrem Computer
neu installieren, sollten Sie auch das DSS-
Dienstprogramm neu installieren. DSS-
sorgt dafür, dass wichtige Aktualisierungen
für Ihr Betriebssystem durchgeführt werden
und bietet Support für Dell™ 3,5 Zoll-USB-
Diskettenlaufwerke, Intel
®
Pentium
®
-M-
Prozessoren, optische Laufwerke und USB-
Geräte. DSS- ist für den ordnungsgemäßen
Betrieb Ihres Dell-Computers erforderlich.
Diese Software erkennt automatisch Ihren
Computertyp und das Betriebssystem und
installiert die für Ihre Konfiguration geeig-
neten Aktualisierungen.
Dell Support-Website — support.dell.com
ANMERKUNG: Wählen Sie Ihre Region aus, um zur entsprechenden
Support-Website zu gelangen.
Die Dell-Support-Website enthält verschiedene Online-Hilfsprogramme,
wie:
• Behebungen von Störungen – Tipps und Tricks und Artikel von Techni-
kern mit Online-Kursen
• Aufrüstungen – Informationen zu Aufrüstungen von Komponenten, wie
z. B. Speicher, Festplatten und Betriebssysteme
• Serviceleistungen und Garantien – Kontaktinformationen, Bestellstatus,
Informationen zu Garantie und Reparatur
• Downloads – Treiber, Patches und Software-Aktualisierungen
• Benutzerhandbücher – Computerdokumentationen und technische
Daten zum Produkt
Wonach suchen Sie? Hier finden Sie das Gesuchte


