Se están utilizando muchos electrodomésticos en el
mismo circuito.
Desconecte o reubique los electrodomésticos que comparten
el mismo circuito.
Está tratando de reiniciar el aire acondicionado
demasiado rápido después de haberlo apagado.
Espere al menos 3 minutos después de apagar el aire
acondicionado antes de intentar reiniciarlo.
32
SOLUCIÓN DE PROBLEMAS
Antes de llamar al servicio, intente las siguientes sugerencias.
El aire acondicionado no funciona
■
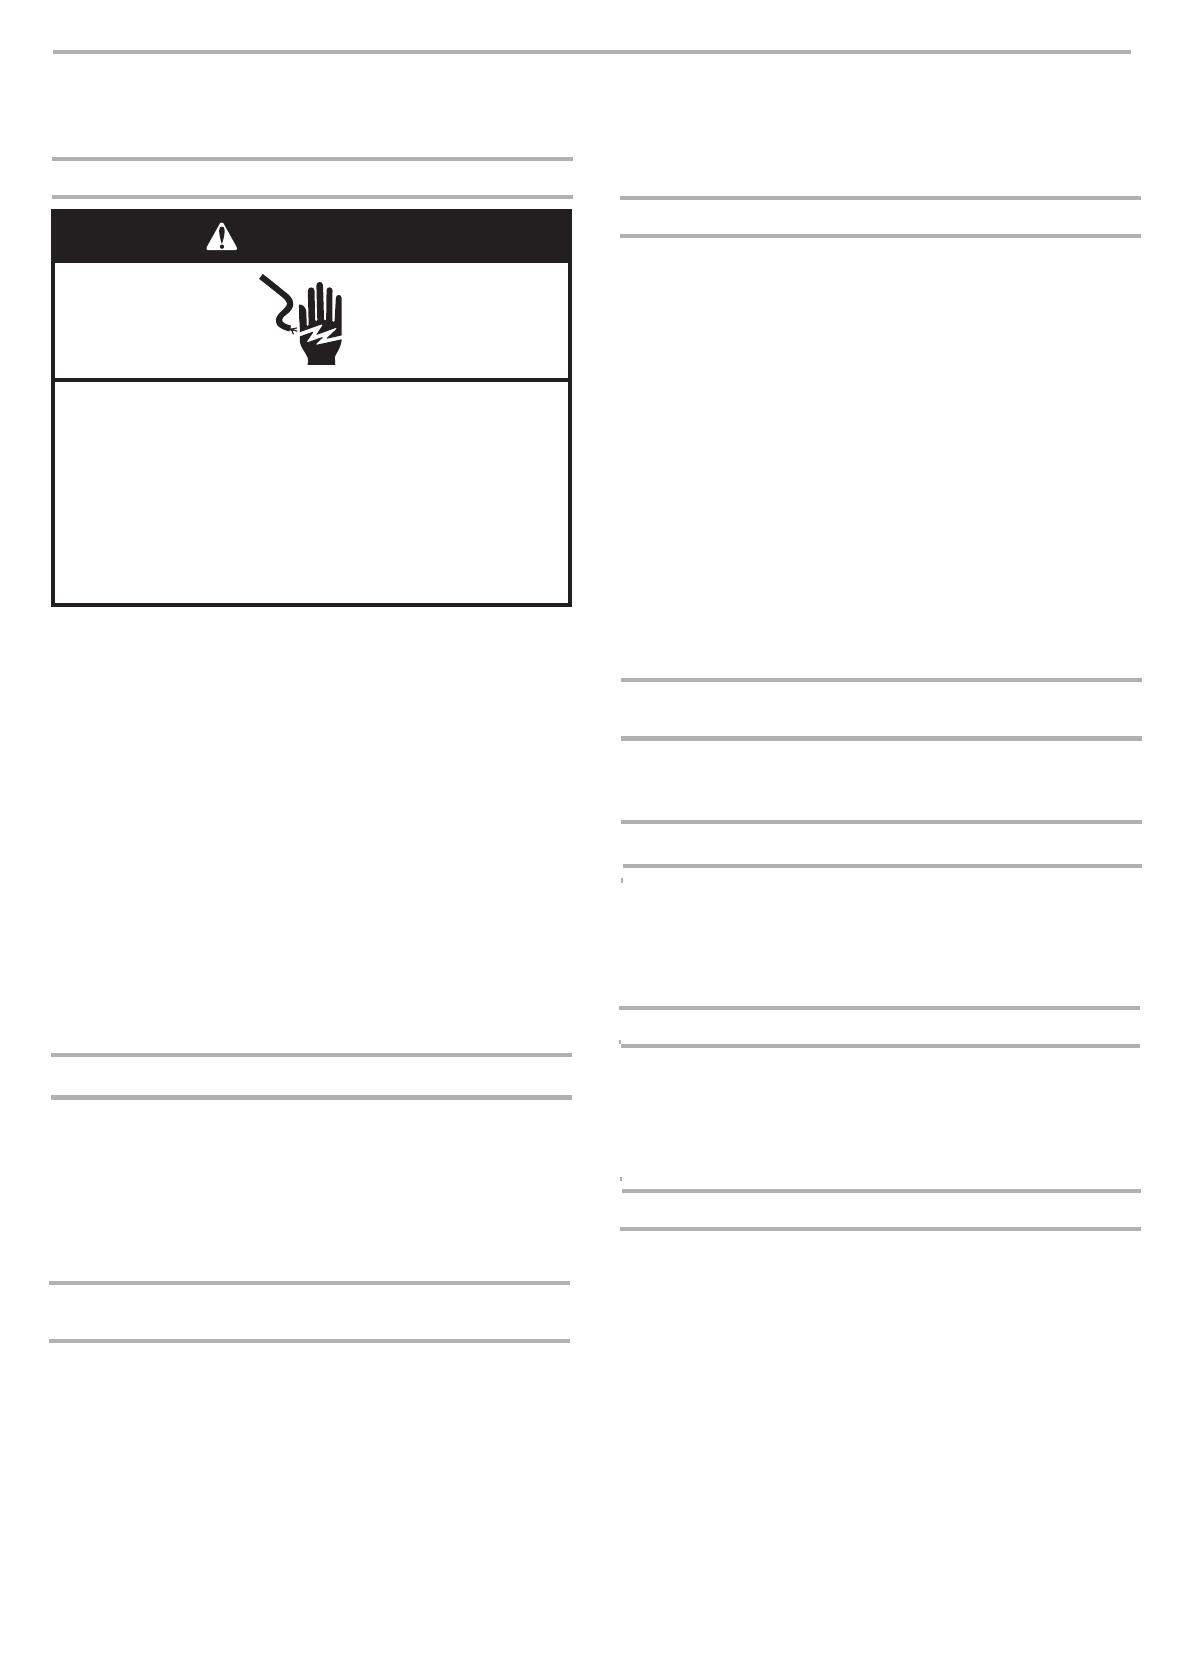
Peligro de descarga eléctrica
Conéctelo a un tomacorriente de 3 patas con conexión a tierra.
No quite la terminal a tierra.
No utilice un adaptador.
No utilice un cable de extensión.
El incumplimiento de estas instrucciones puede resultar en la
muerte, incendios o descargas eléctricas.
ADVERTENCIA
El cable de alimentación está desconectado.
Conéctelo a un tomacorriente de 3 patas con
conexión a tierra. Refiérase a "Requisitos eléctricos".
■
Se está utilizando un fusible de retraso o
disyuntor de una capacidad incorrecta.
Reemplace el fusible de retraso o el disyuntor con uno de
la capacidad correcta.
Refiérase a "Requisitos eléctricos".
■
El cable de alimentación salta (el botón de reinicio salta).
Presione RESET suéltelo (escuchará un clic; el botón de
reinicio se detendrá y permanecerá así) para que vuelva a
funcionar.
■
Se quemó un fusible o el disyuntor saltó.
Reemplace el fusible o reinicie el disyuntor.
Refiérase a "Requisitos eléctricos".
■
No se presionó el botón encendido/apagado.
Presione ENCENDIDO/APAGADO.
■
Se cortó la electricidad local.
Espere a que vuelva la electricidad.
El aire acondicionado quema fusibles o hace saltar disyuntores.
■
■
El aire acondicionado sólo funciona por un corto tiempo
pero la habitación no está fresca.
■
La temperatura establecida está muy cerca a la
temperatura de la habitación.
Baje la configuración de la temperatura. Refiérase a "Uso
del aire acondicionado portátil".
■
El aire acondicionado está en una habitación muy
ocupada o se están utilizando electrodomésticos que
emiten calor en la habitación.
Utilice ventiladores mientras cocina o se baña y trate de no
utilizar electrodomésticos que emitan calor durante la parte
más calurosa del día. Los aires acondicionados portátiles
están diseñados como una refrigeración suplementaria para
áreas locales dentro de la habitación. Se puede requerir un
aire acondicionado de mayor capacidad dependiendo del
tamaño de la habitación a enfriar.
■
El aire acondicionado actual reemplaza a un modelo viejo.
El uso de componentes más eficientes puede hacer que el
aire acondicionado funcione más que un modelo viejo pero el
consumo total de energía será menor.
Los aires acondicionados más nuevos no emiten la "ráfaga"
de aire frío a la que puede estar acostumbrado por las
unidades viejas, pero esto no indica menos capacidad de
enfriado o eficiencia.
Refiérase al índice de eficiencia (EER) e índice de capacidad
(en Btu/h) señalizado en el aire acondicionado.
NOTA: Se debe reemplazar el cable de alimentación dañado
por un cable nuevo, que se obtiene del fabricante; no se debe
reparar.
El cable de alimentación del aire acondicionado salta
(el botón de reinicio salta)
■
Las alteraciones en la corriente eléctrica pueden hacer
saltar (el botón de reinicio saltará) el cable de
alimentación.
Presione RESET y suéltelo (escuchará un clic; el botón de
reinicio se detendrá y permanecerá así) para que vuelva a
funcionar.
■
La sobrecarga eléctrica, el sobrecalentamiento, el
cable apretado o uno viejo pueden hacer saltar (el
botón de reinicio saltará) el cable de alimentación.
Después de corregir el problema, presione RESET y
suéltelo (escuche un clic; el botón de reinicio se detendrá y
permanecerá así) para volver a funcionar.
Si el cable de alimentación no reinicia, contacte a un técnico
del servicio.
El aire acondicionado parece funcionar mucho.
■
¿Hay alguna puerta o ventana abierta?
Mantenga las puertas y ventanas cerradas.
La pantalla muestra código de error
■
Si la unidad muestra el código de error E5, el contenedor
de agua está lleno.
Drene el agua, refiérase a "Desagüe del aire acondicionado".
Luego, la unidad puede funcionar nuevamente.
■
Si la unidad muestra el código de error E1/E2/E3/E4/E6/E7/EA
Contacte al servicio al cliente.
El aire acondicionado funciona pero no enfría.
■
El filtro está sucio u obstruido por restos.
Limpia el filtro
■
■
El aire acondicionado se apaga y se prende con frecuencia
■
■
El filtro está sucio u obstruido por restos.
Limpie el filtro.
■
Hay calor o humedad excesiva, cocinas abiertas,
duchas, etc. en la habitación.
Utilice un ventilador para quitar el calor o la humedad de
la habitación. Trate de no utilizar electrodomésticos que
emitan calor durante la parte más calurosa del día.
■
Las persianas están bloqueadas.
Instale el aire acondicionado en un lugar donde las
persianas estén lejos de cortinas, persianas, muebles, etc.
El aire acondicionado no es del tamaño correcto para la
habitación.
Verifique las capacidades de enfriado de su aire
acondicionado portátil. Los aires acondicionados portátiles
están diseñados como una refrigeración suplementaria
para áreas locales dentro de la habitación.
La salida del aire está bloqueada.
Limpie la salida del aire.
La temperatura establecida está muy alta.
Baje la configuración de la temperatura.


